|
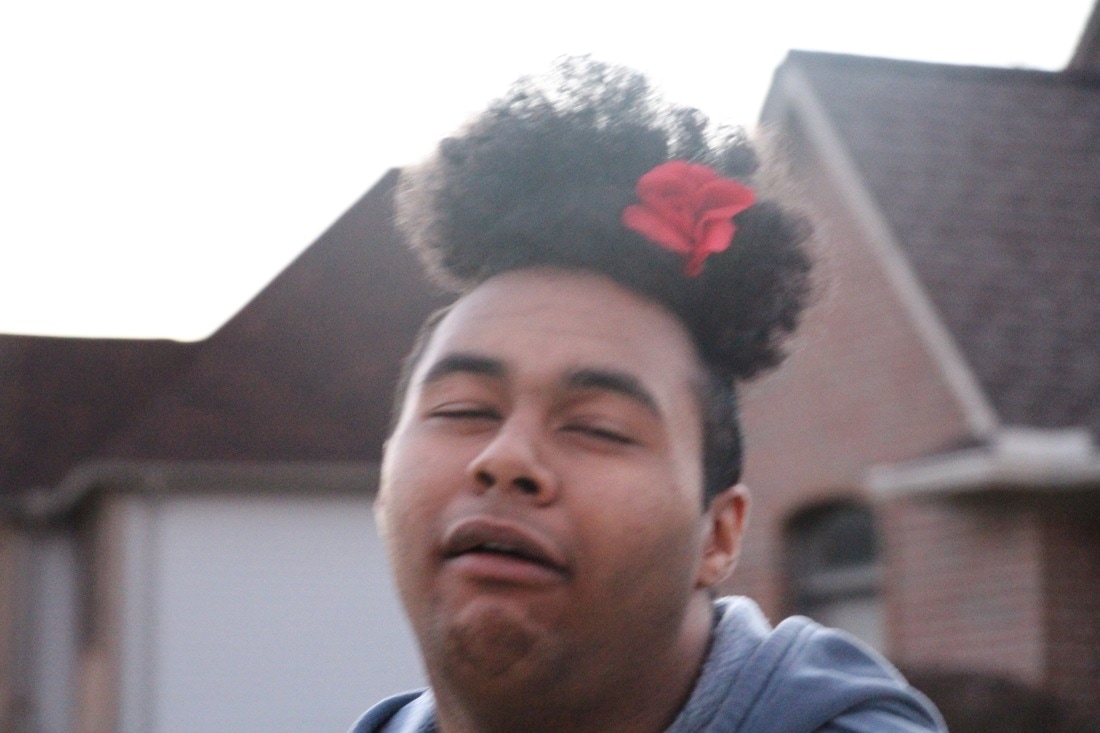
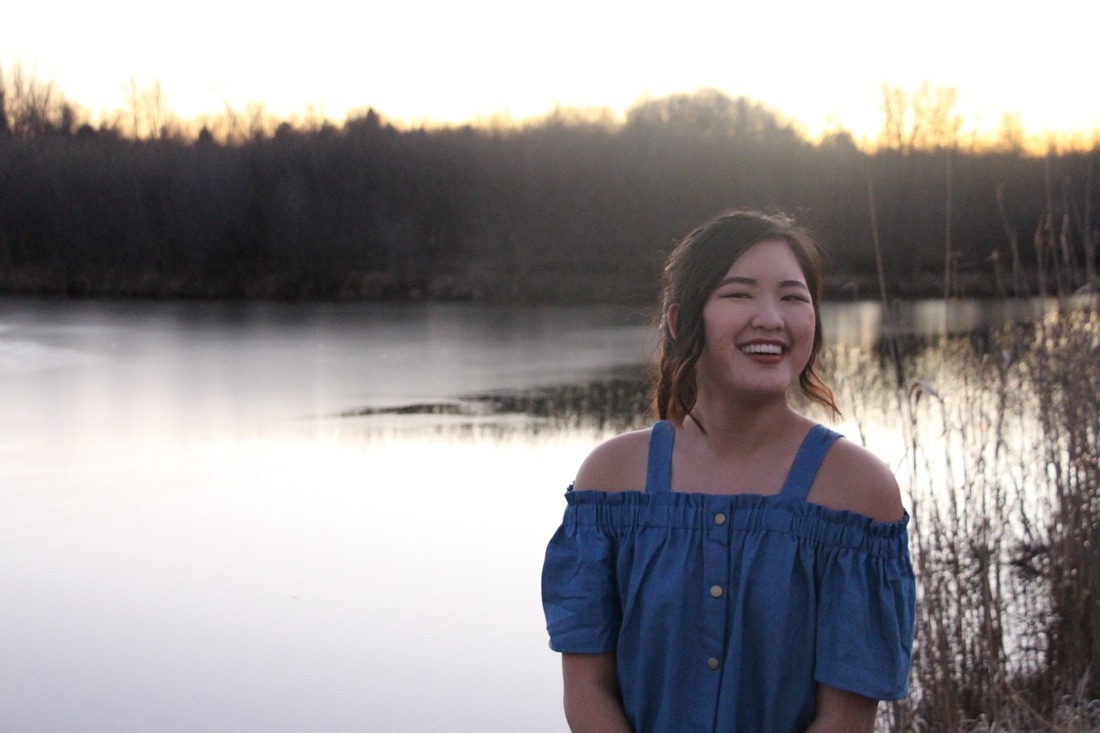
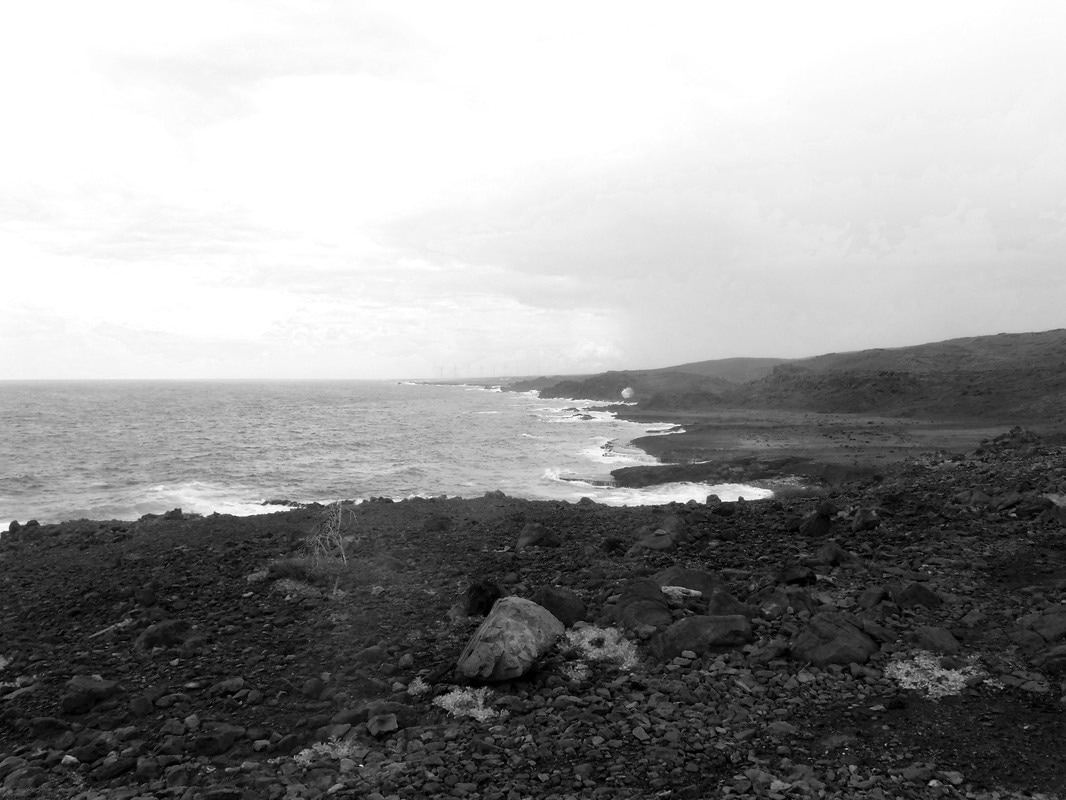
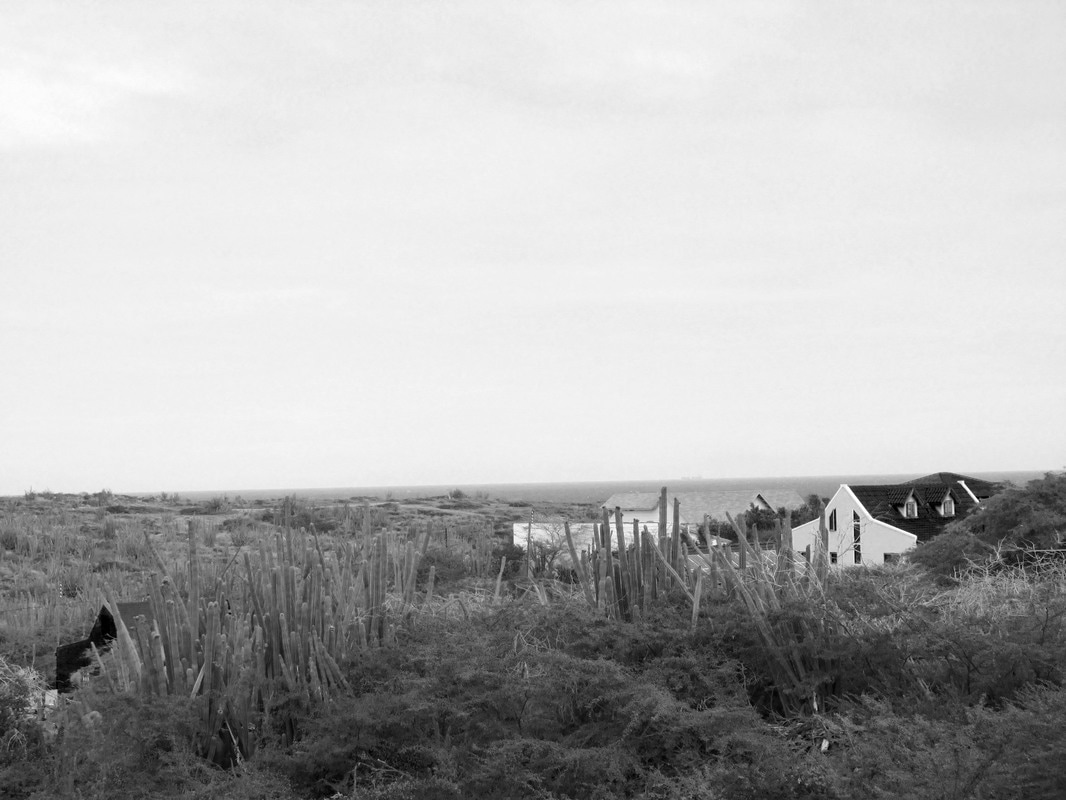
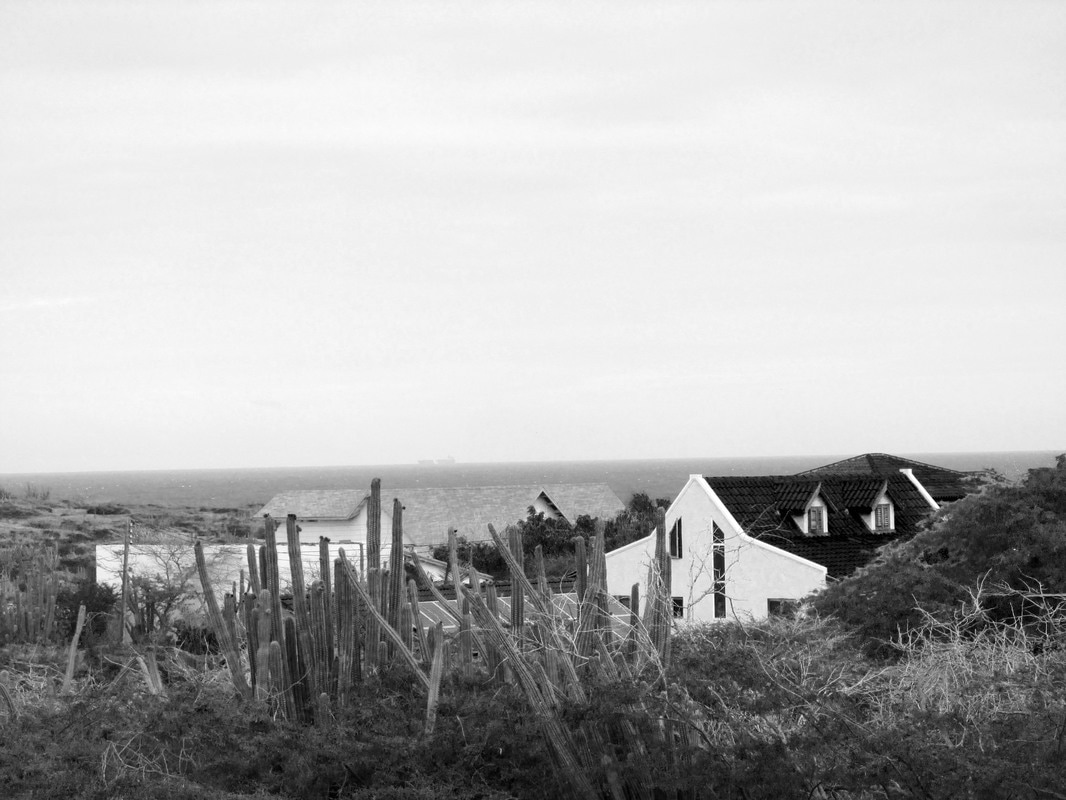
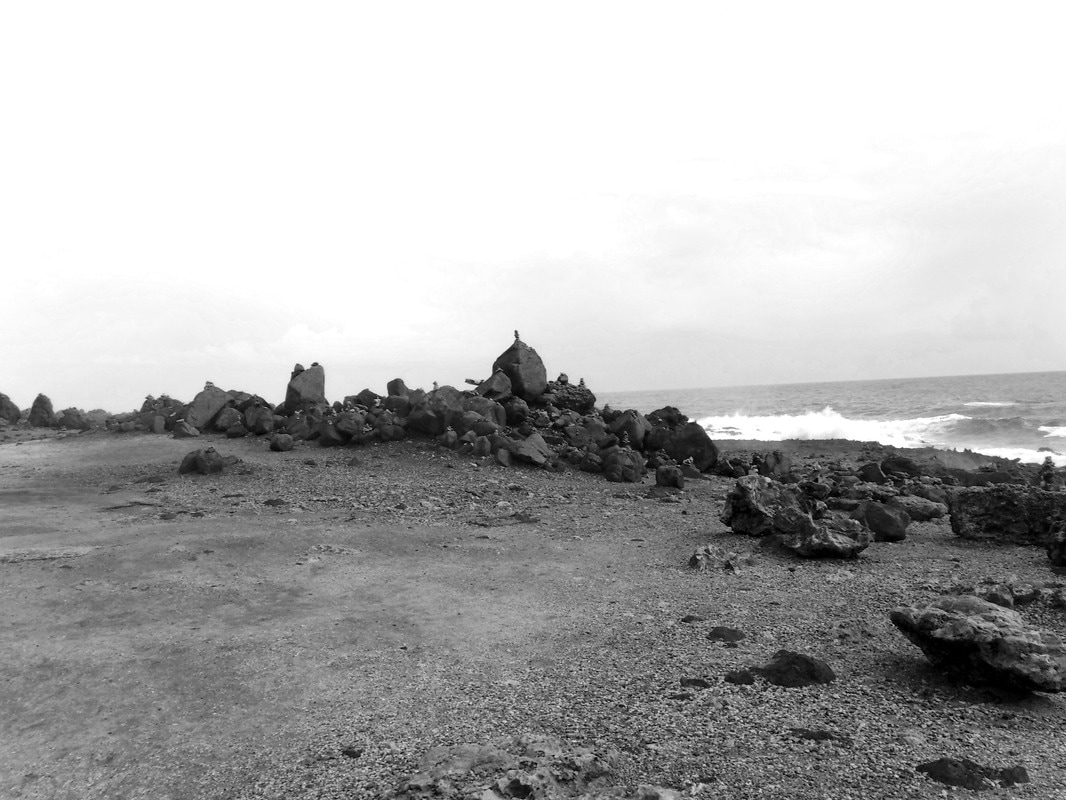
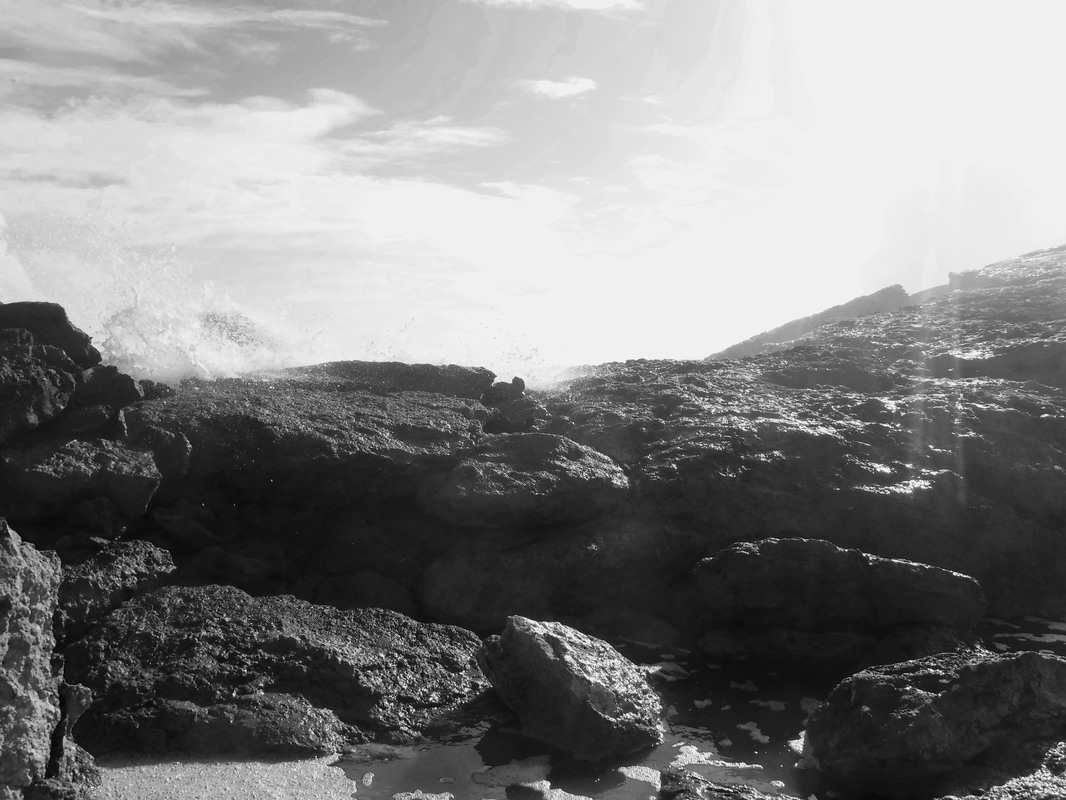
At the start of this class I only had a little knowledge on how to take digital pictures. I started off knowing some of the basic rules, but I didn't know how to put the pieces together in order to create a good composition. I remember on the first day of class, we were sent around the room to practice using the cameras. I took some of my worst photos that day, as you can see from the photo on the left. Later, with more practice and instruction, I started utilizing the tools I was given to take much more interesting images as you can see on the right (of course having subjects outside of the school helps as well). The two images below are what I consider my best and worst shots of the trimester.
I also learned a lot about photoshop in this class. I used to think my images were dependent on how well I took them in the camera, but now I can use images that were decent on their own after editing them in photoshop. For example, in the multiple me assignment, I compiled several photographs into one image to give the illusion that there is more than one copy of me displayed. In each of the photos by themselves, the picture is okay, but pretty boring because there's not much to look at. In the final composite, however, it is a much more interesting to look at, thanks to photoshop.
In the end, taking a digital photography class has taught me many things I can use in the future, both as an artist and as someone who likes to take pictures with friends and family. I can move forward making memories that will be pleasant to look back at and to look at.
0 Comments
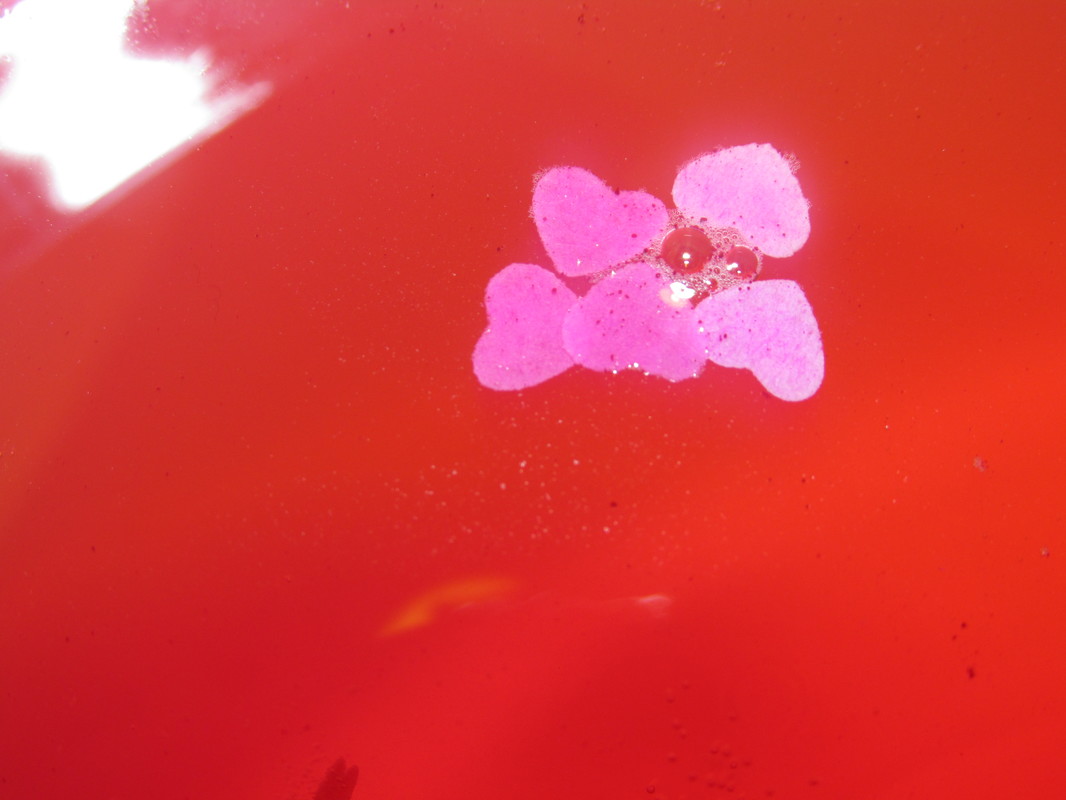
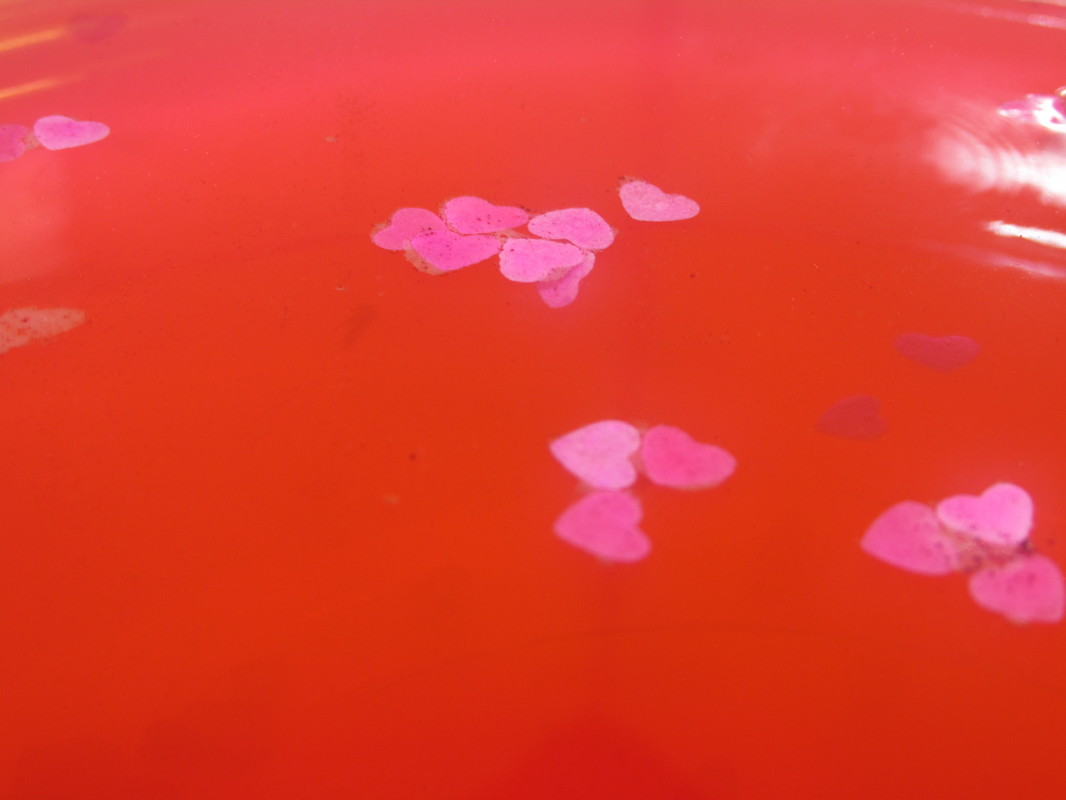
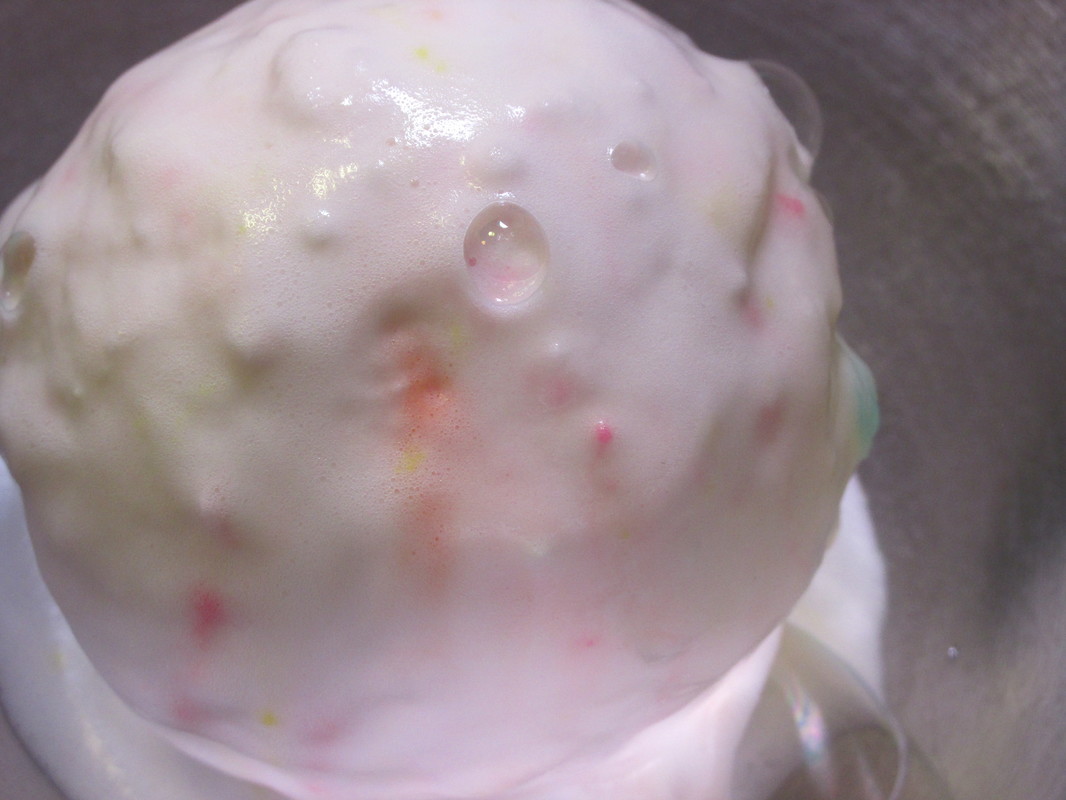
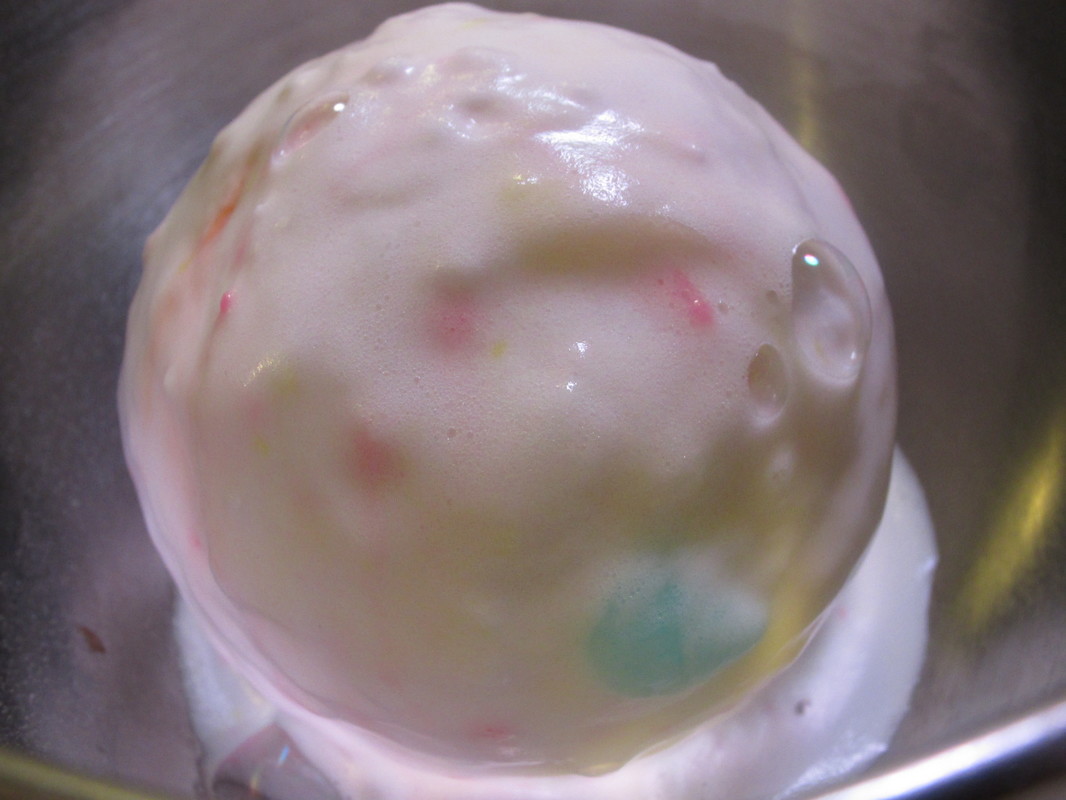
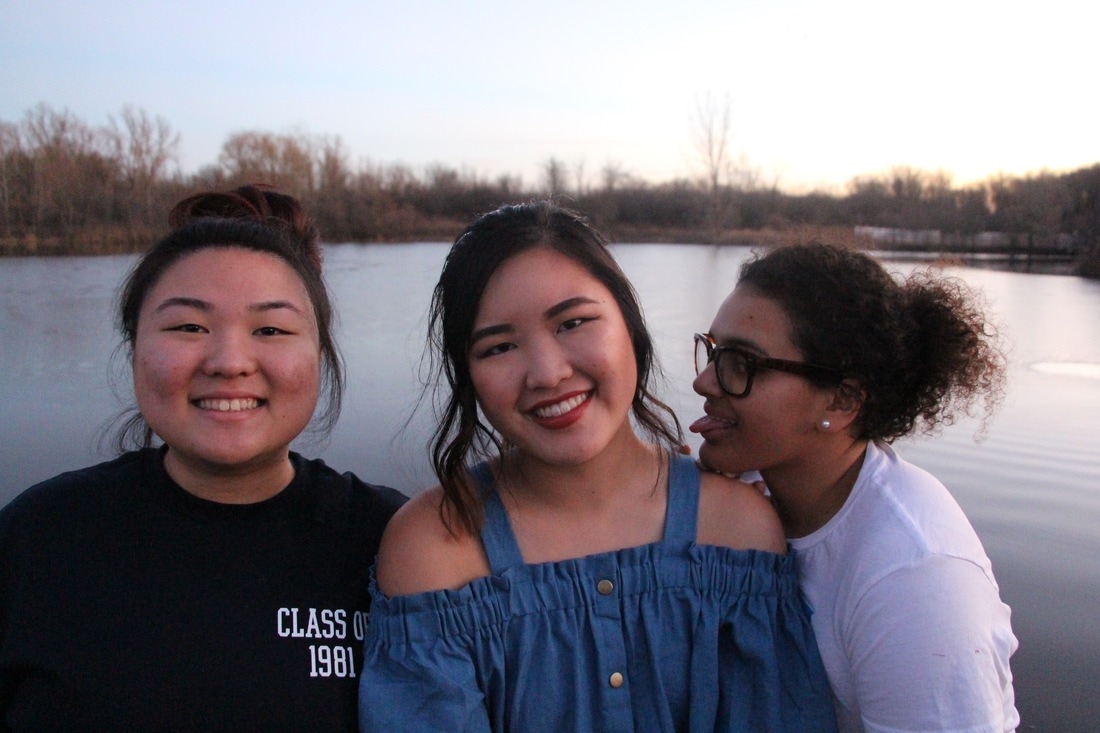
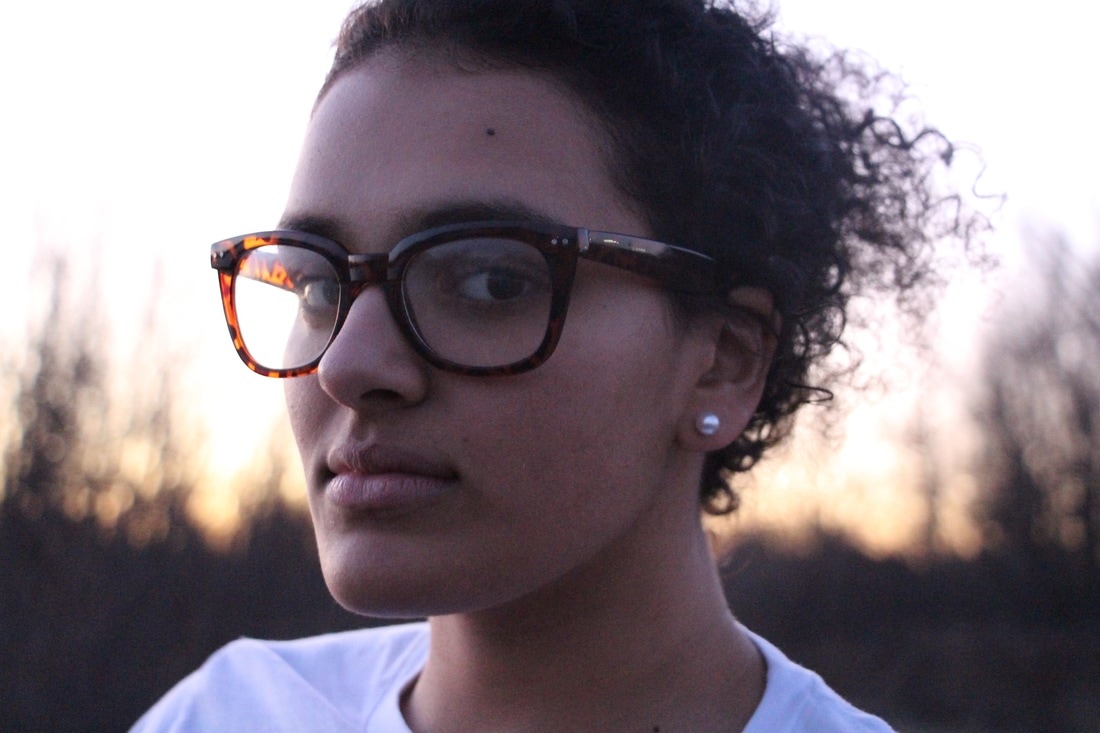
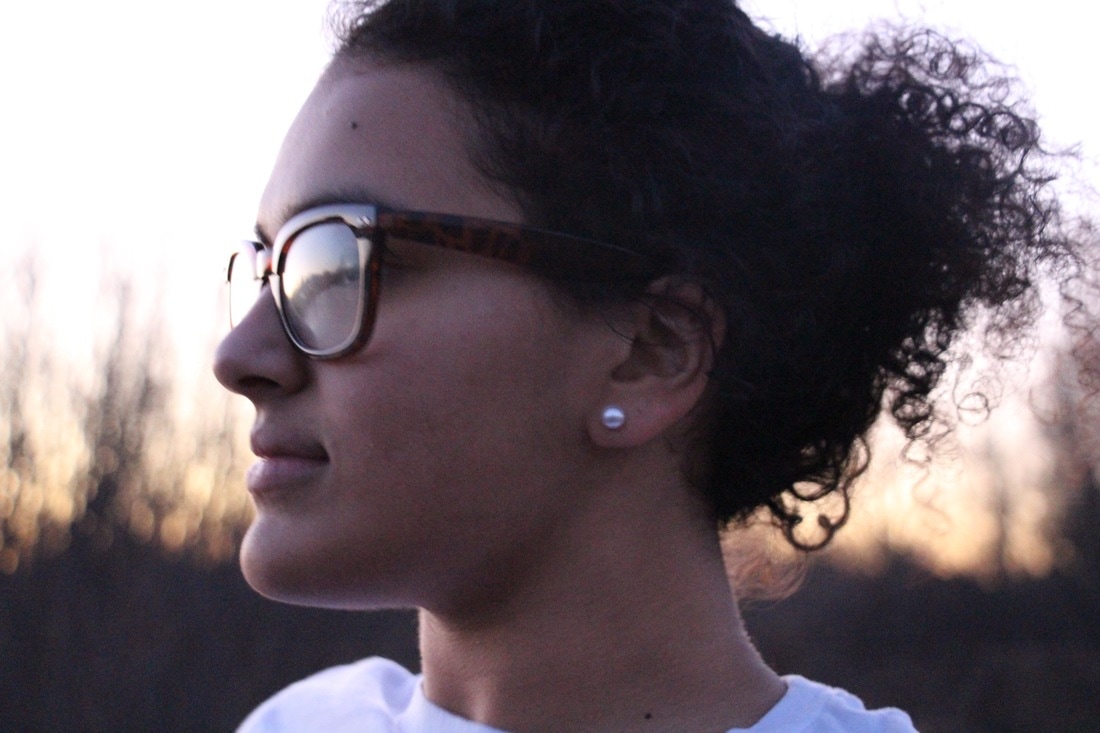
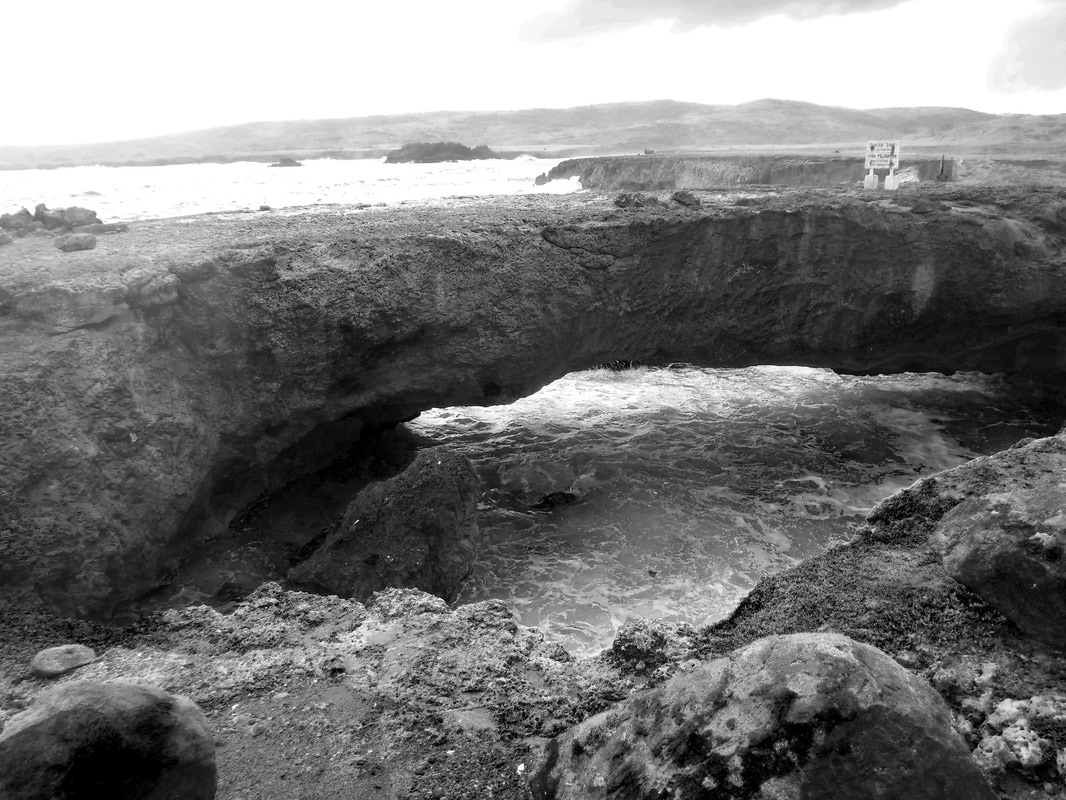
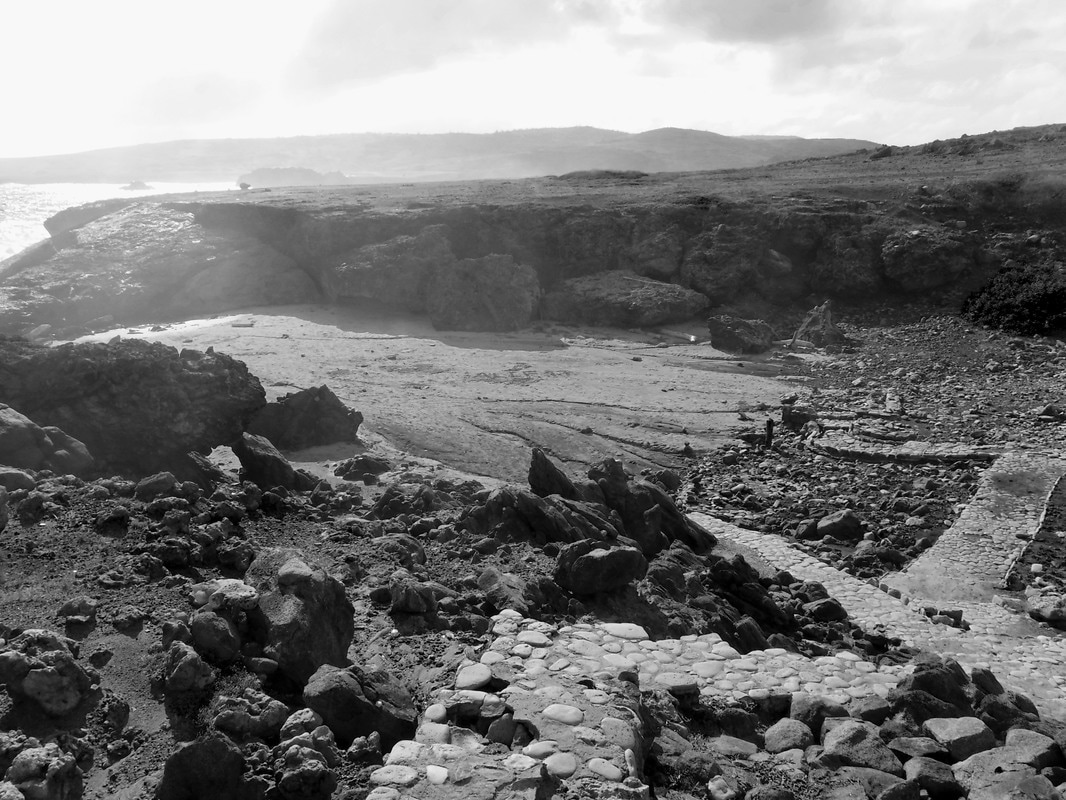
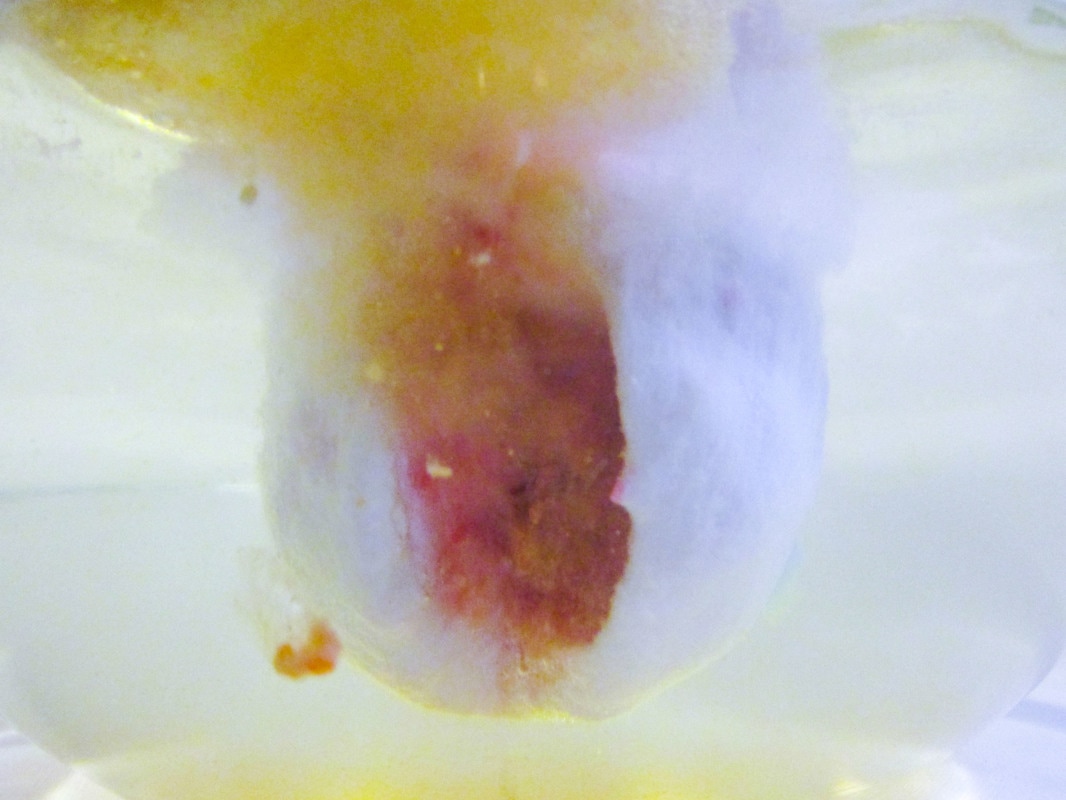
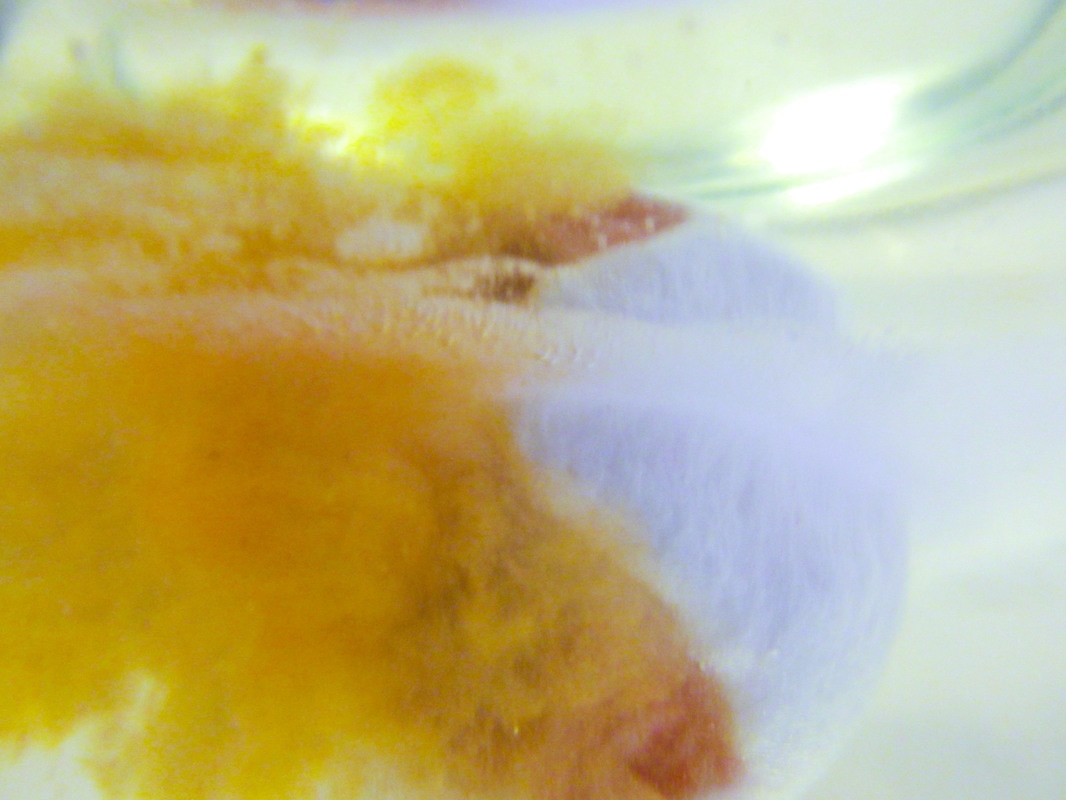
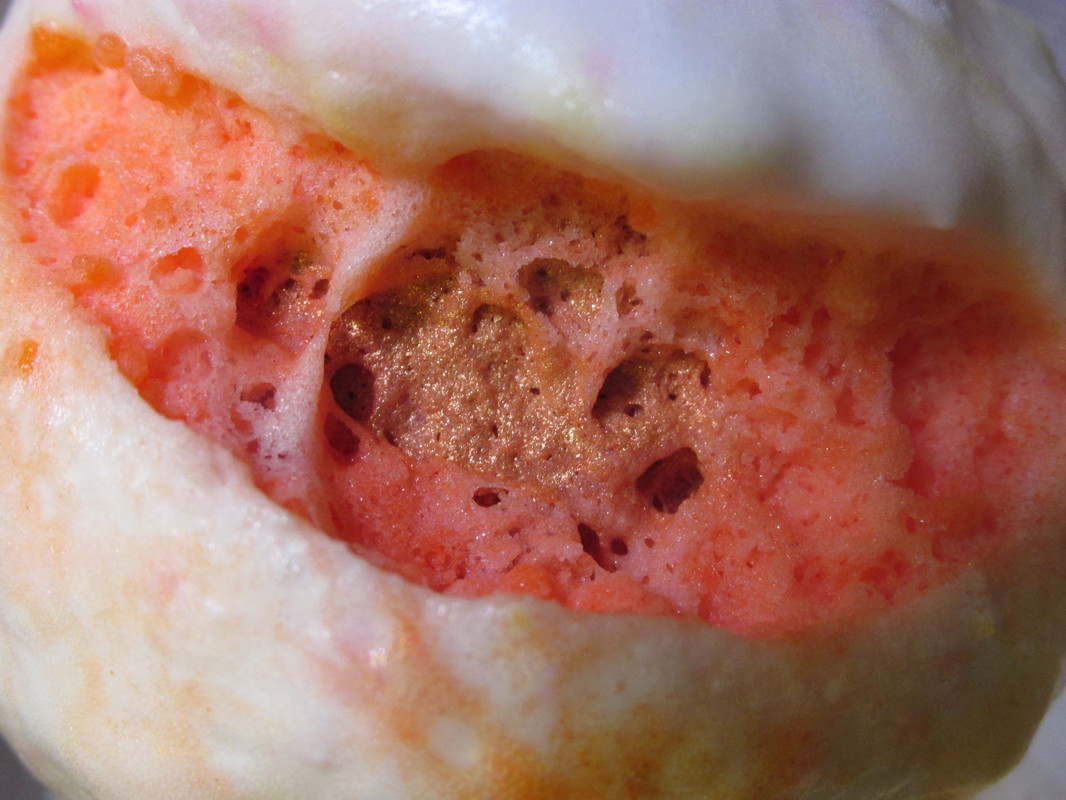
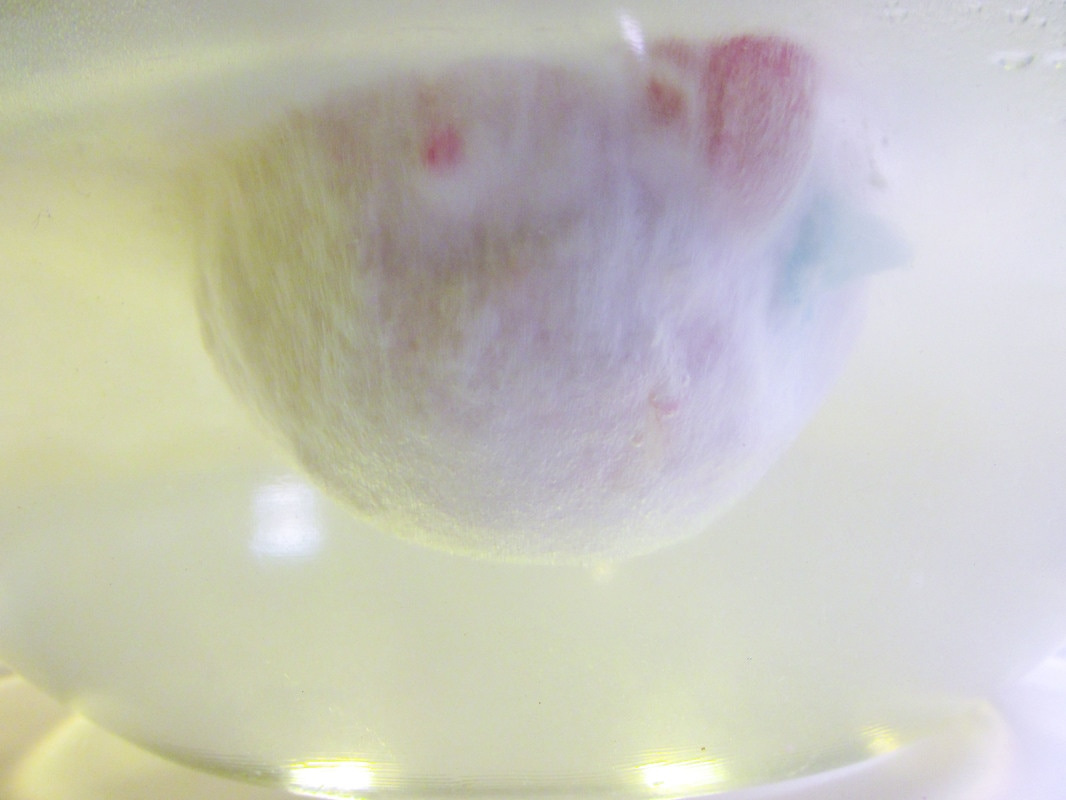
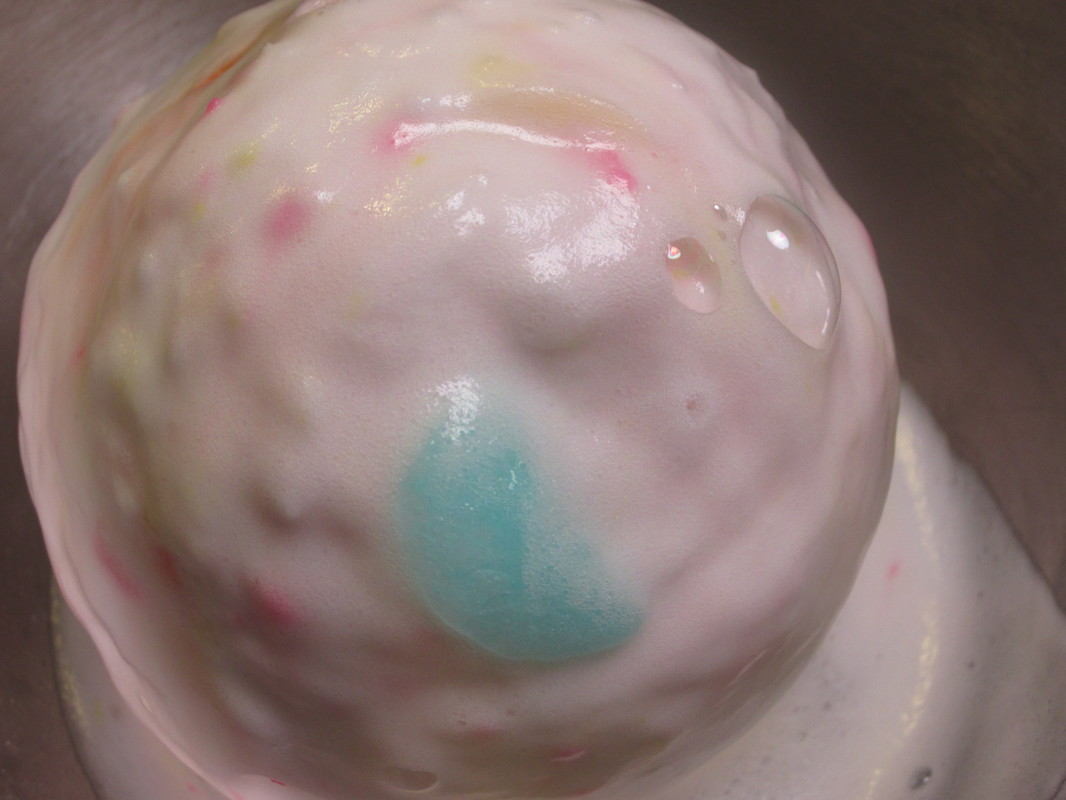
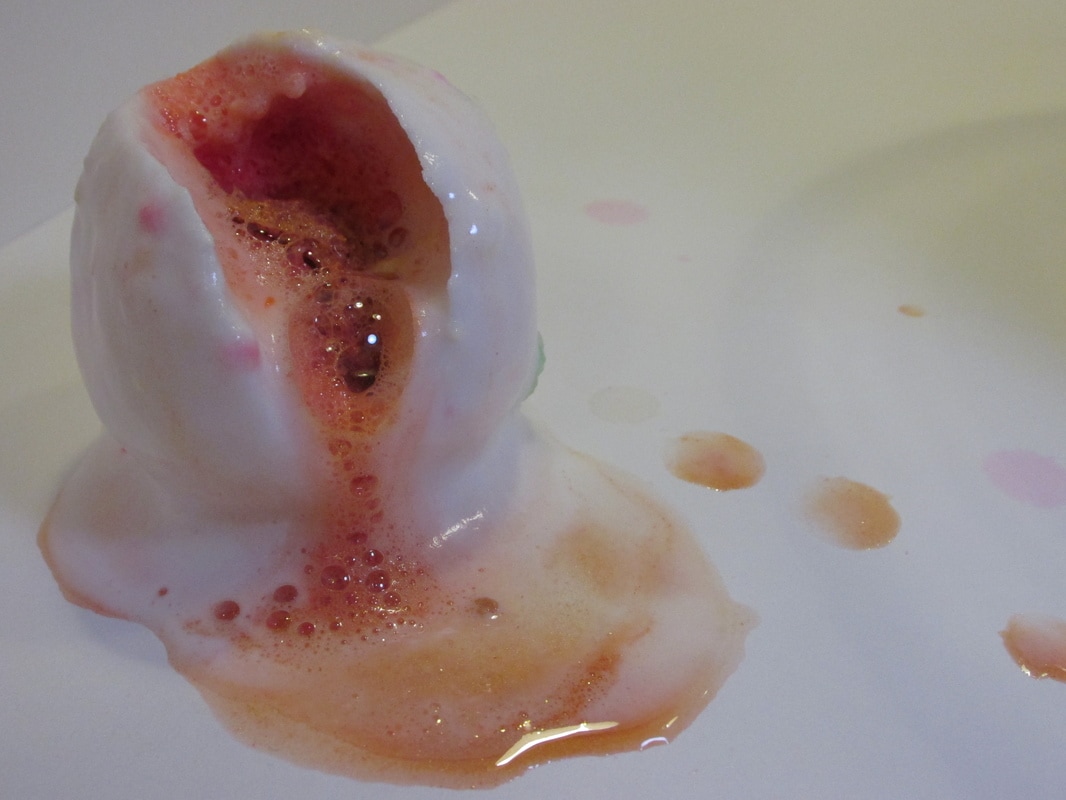
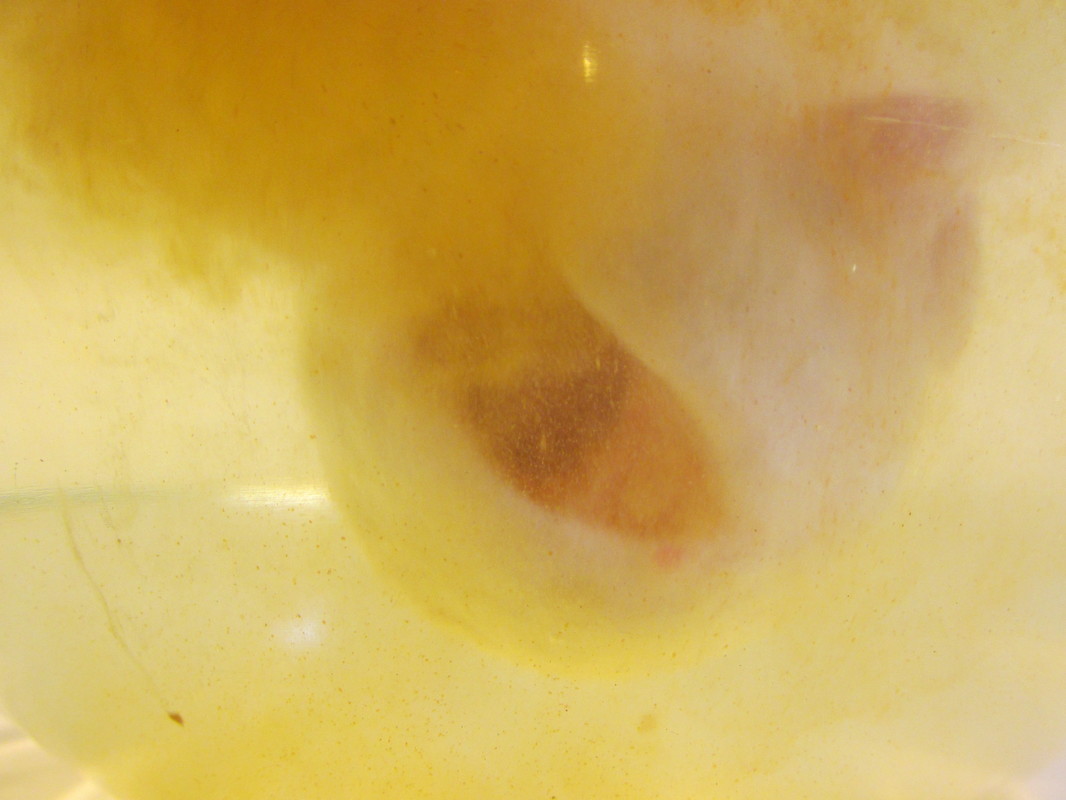
In this assignment, I learned how to pan the camera in order to capture a moving subject. I also had practice adjusting the shutter and ISO to the partly cloudy, partly bright and sunny day. 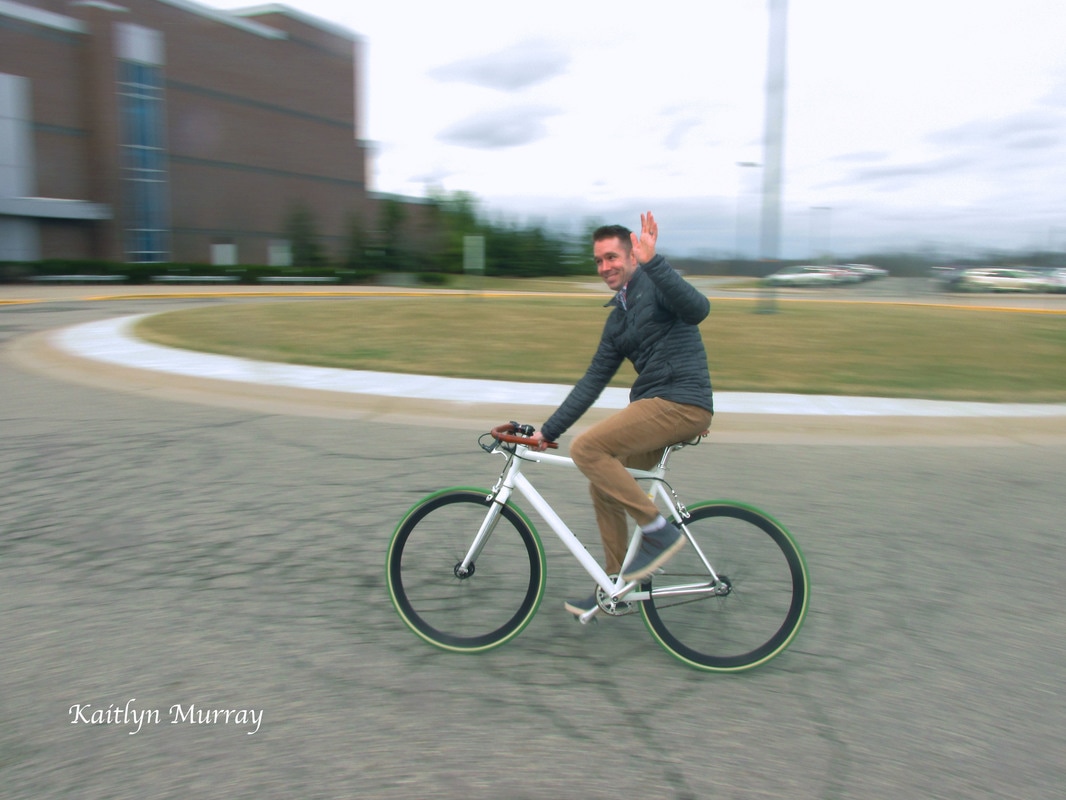 For this assignment, we had to utilize our experience in manually setting camera settings and out photoshop experience in order to composite a series of photos together into one. I struggled with this project near the end because I had to actually move two "me's" in order to see them. However, once I figured it out, the project turned out pretty well.  The portrait demo was supposed to teach our class how to use lighting while taking portrait photos. We learned about 3 point lighting, and bounce card lighting. For my these two photos, I used a bounce card to reflect light from a window back onto the subject to soften the shadows. 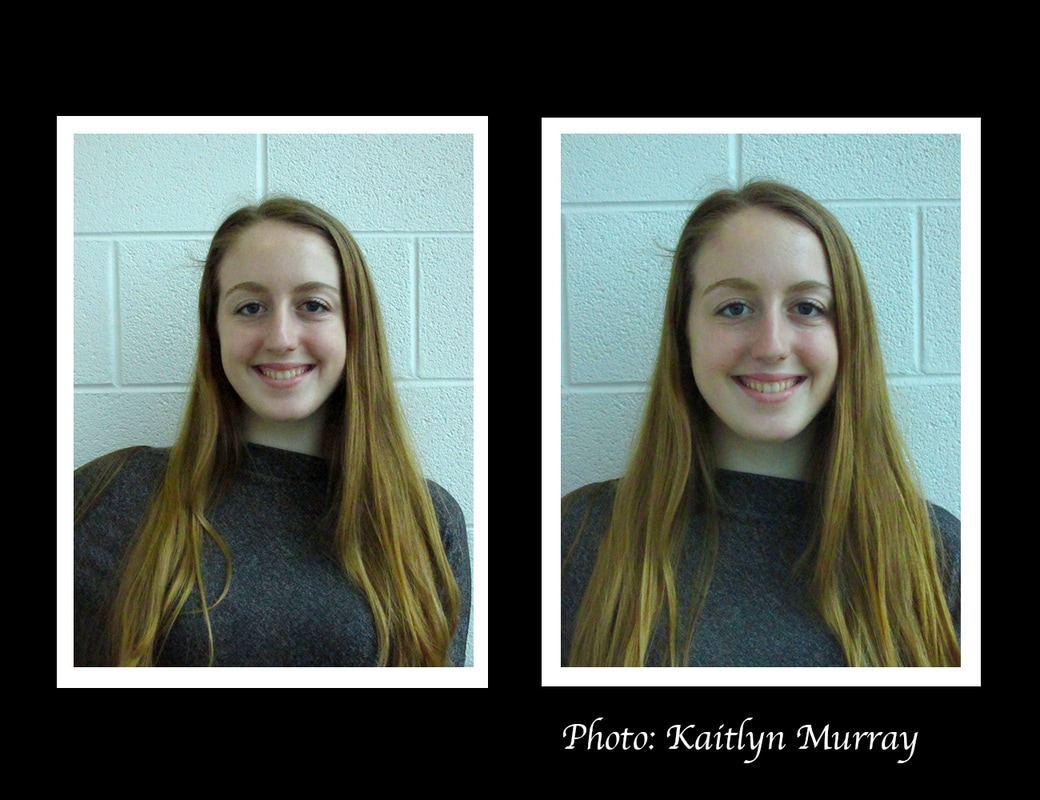 This assignment allowed me to focus more on the minute details of objects. Every detail was important. I also got to put some more emphasis on depth of field. I found that photos that had a short depth of field tended to turn out more interesting. I think the hardest part was dealing with the exposure, because as you get closer to an object, the more shadows there are to deal with.  f/4.0, 1/30, ISO100. Exposure -20, Contrast +14, Vibrance +31. My assignment this week was taken at a park with some friends. I tried to utilize the warm weather for some nice, outdoor portraits. The sun had started going just a little too far down, so it became a race against time to get pictures before the lighting was gone. 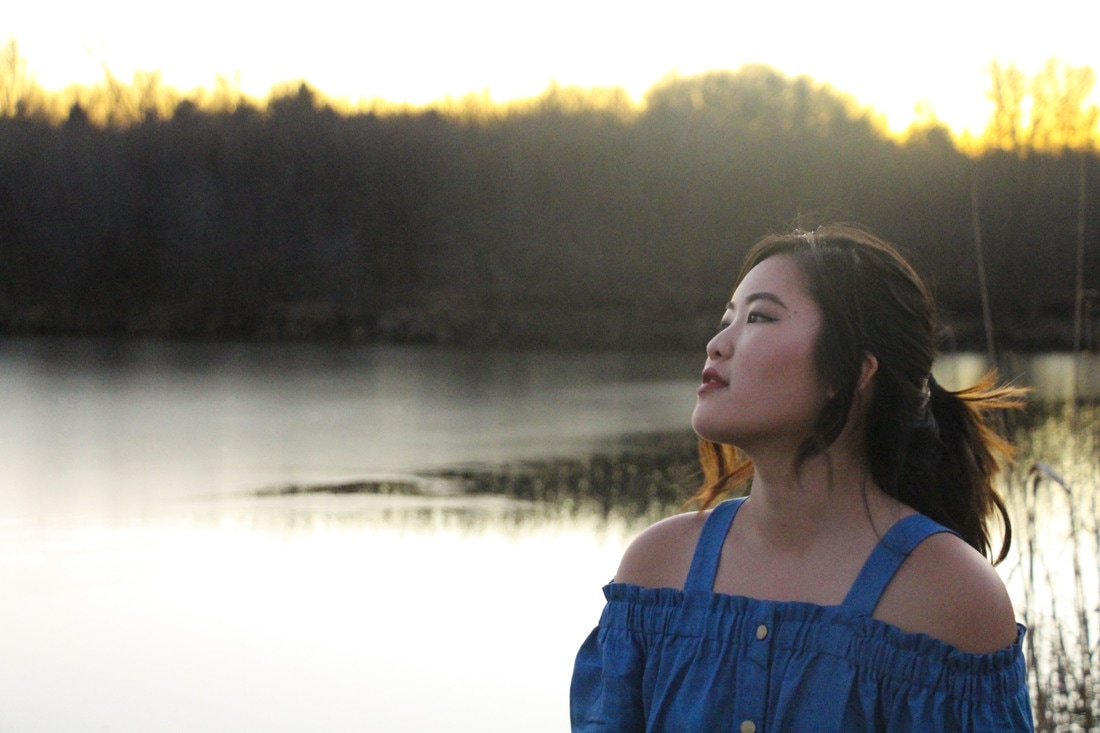 f/5.0, 1/80, ISO5000. Contrast +15, Vibrance +29 This week, the class was given an open assignment to pick any photoshop tutorial we could find and attempt it. I found a tutorial in which you take a black and white photo and, using the curves and layers, colorize it. You can check out the same tutorial here. 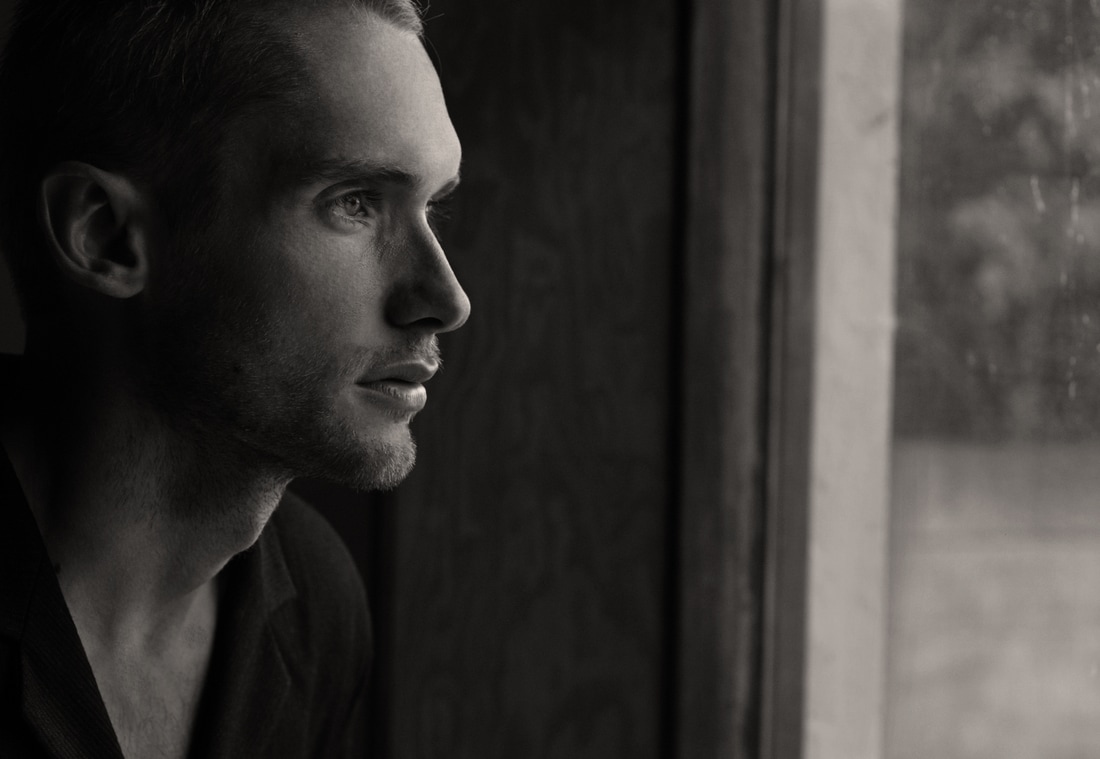 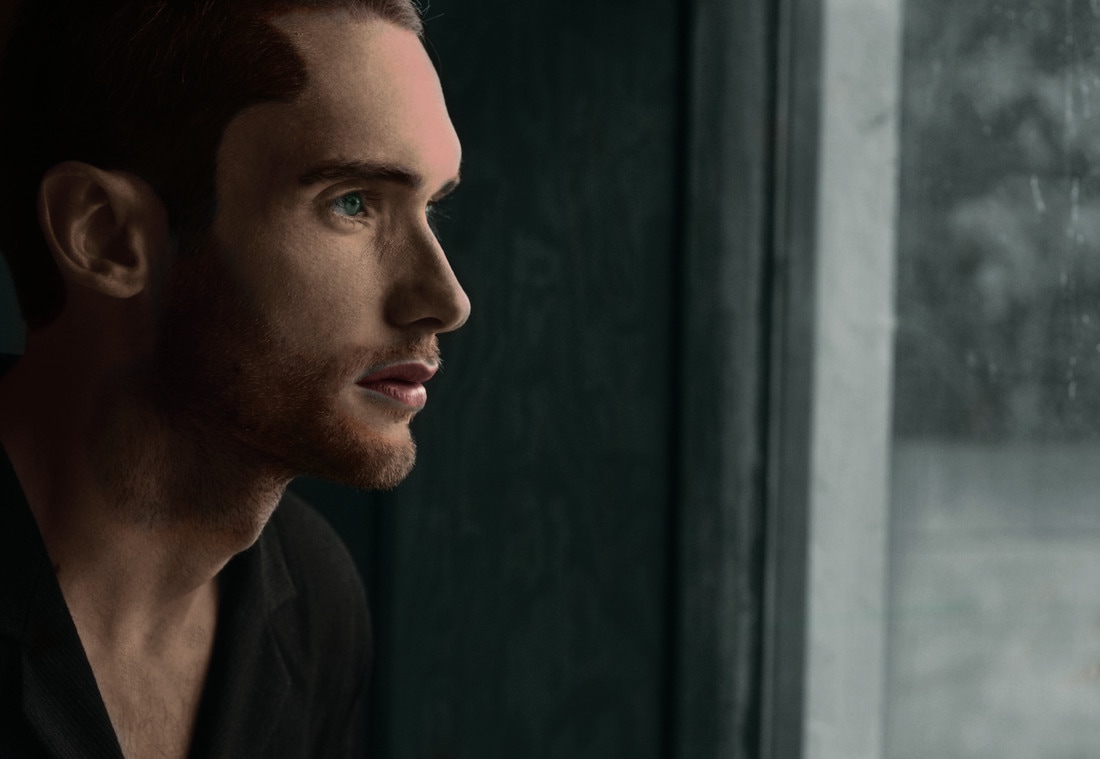 For this assignment, I worked more with photoshop to edit the photos into black and white images. I had to pay close attention to the contrast, so that there would be a stark difference between the darkest darks and lightest lights. However, I had to be careful not to lose many of the greys in-between. 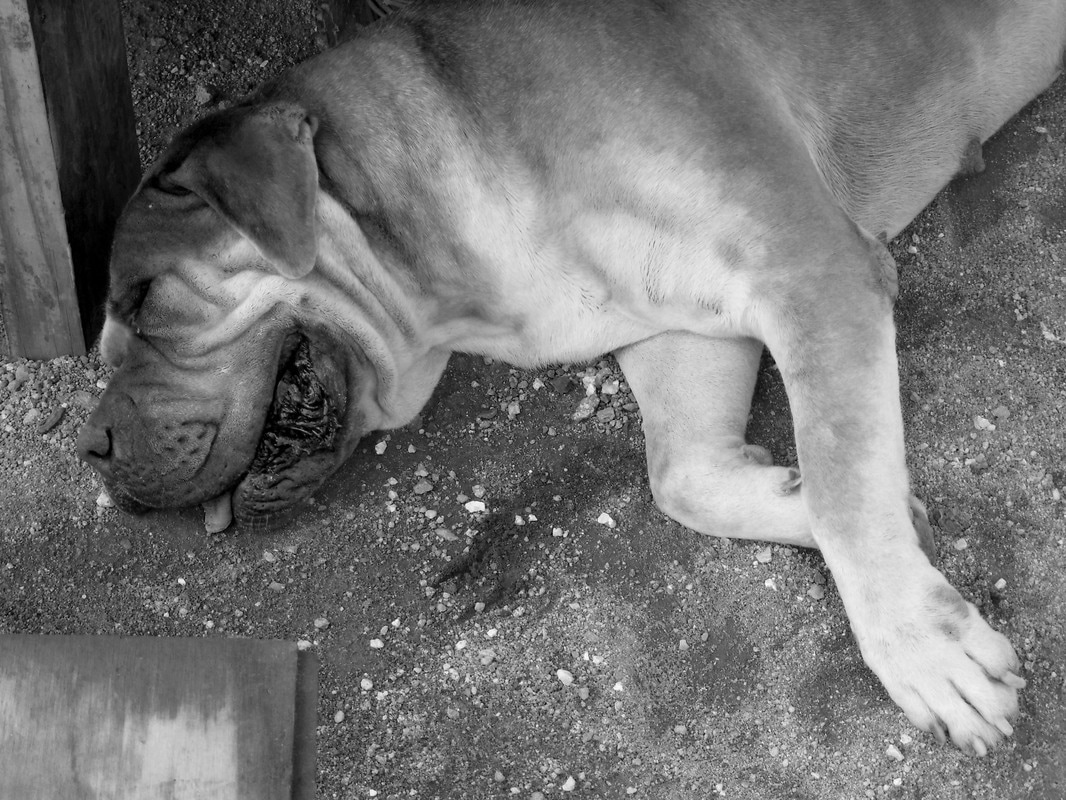 f/4.8, 1/150, ISO100. In this project, we learned the mechanics that go into taking panoramic pictures. Everything from taking the pictures all the way through mending them together in photoshop. I learned that it is much easier to take panoramic photos with a tripod, or something stable to rest the camera on because it minimizes movement in the photo, and it allows you to take pictures with a lower shutter speed (for much darker scenes such as the auditorium). 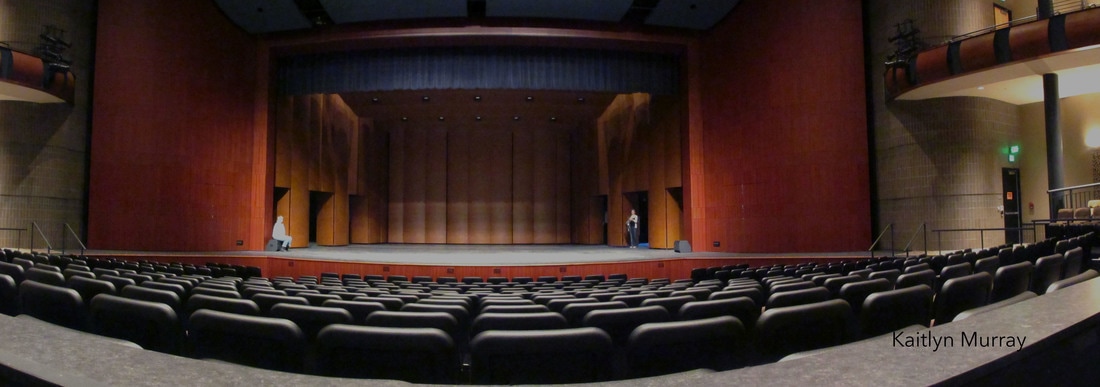    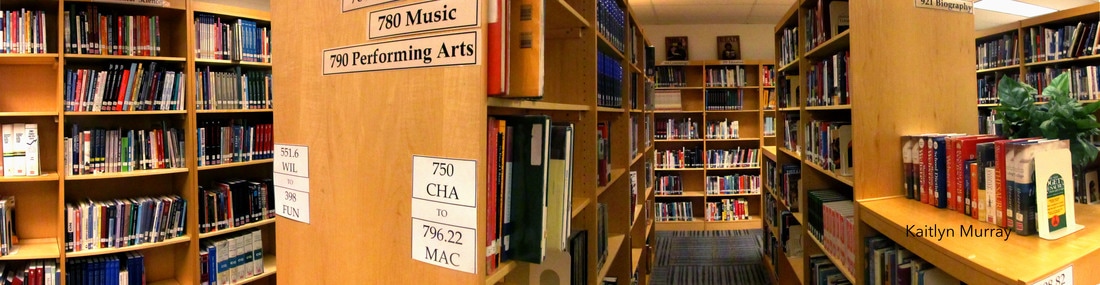 This week I decided to try and photograph a Lush bath bomb in action. The struggle was real. I had to fill a big glass bowl with warm water, and overtime the water became too saturated with color, I had to empty it, clean it, and refill it. Not to mention, catching motion through a glass bowl made the images come out with a lower quality. However, I did get a few interesting images to look at (just don't zoom in too close). 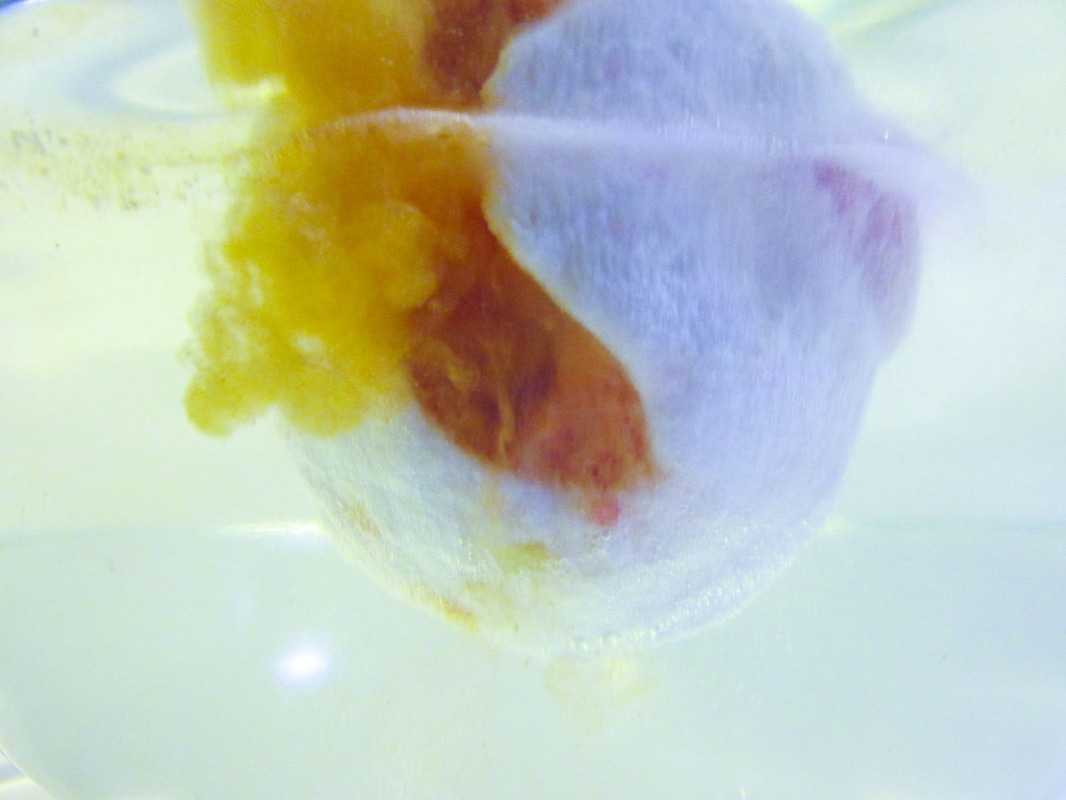 |
AuthorSaline High School Senior. ArchivesCategories |


 RSS Feed
